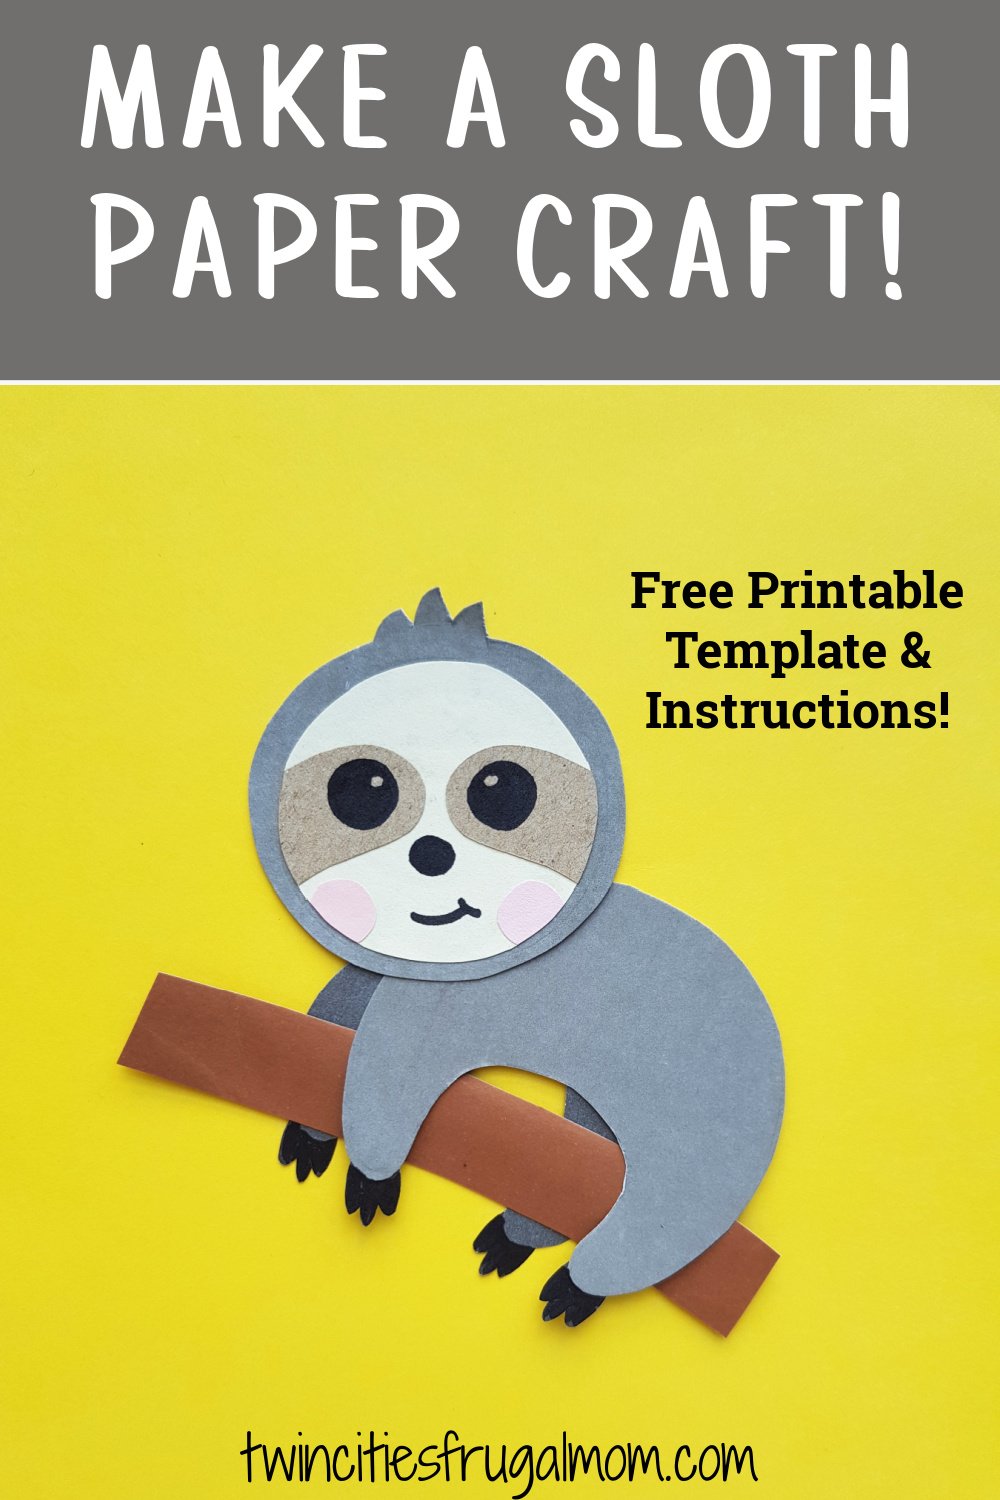
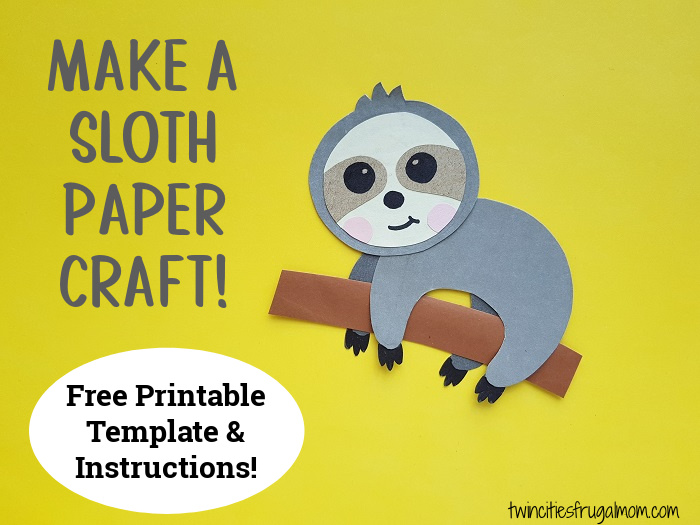
Do your kids love sloths? Who doesn’t, right? They are so cute and their slow-motion movements are fascinating to watch.
If you and your kids love sloths, here’s a fun, FREE Sloth Paper Craft to make!
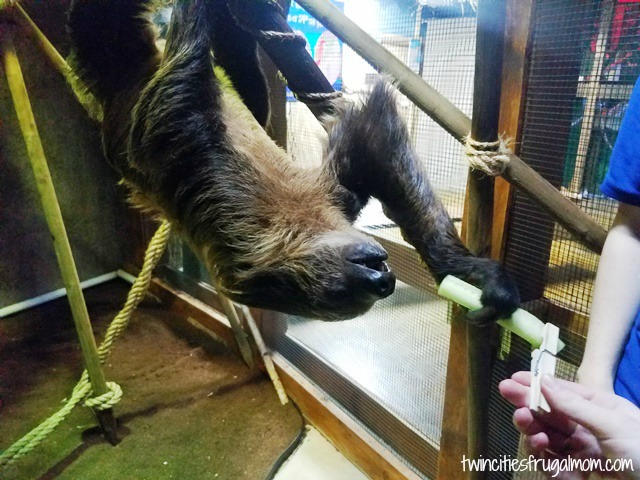
We got to see a sloth at SeaQuest in Roseville, too! They are so interesting, and we got to feed one!
And now your kids or you can make a fun sloth paper craft at home!
It’s easy and uses very few supplies that you probably already have at home. And they will learn skills following directions and creating something fun.
And you can customize the sloth’s face! You can make the sloth smile, look surprised, or anything else you want.
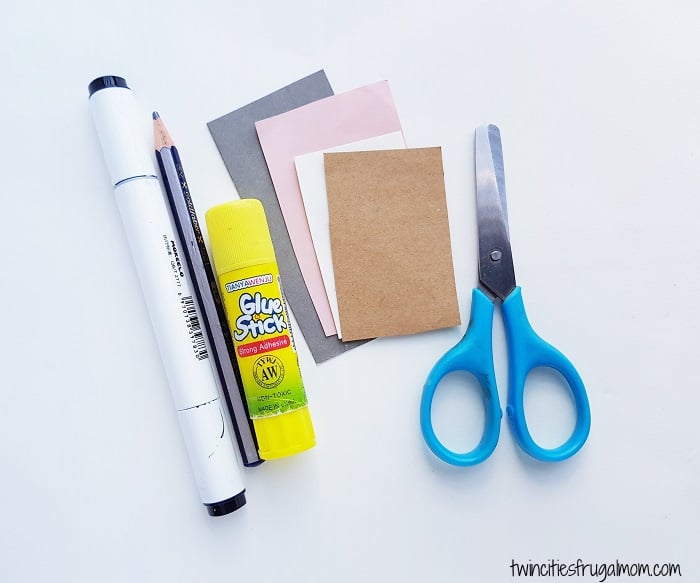
List of Supplies:
- Colored craft papers – brown, cream, pink, black and gray
- Craft glue
- Sharpie
- Pencil
- Scissors
- Free printable template HERE!
Instructions:
Step 1:
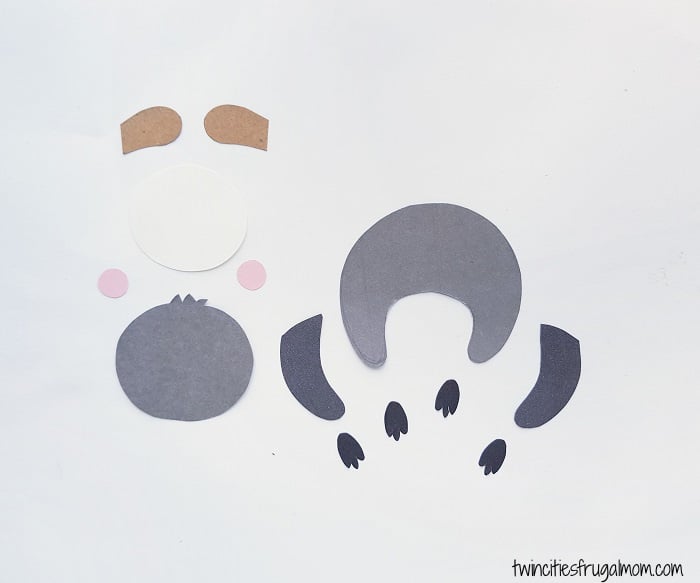
Select craft papers in these colors: brown, cream, pink, black and 2 different shades of gray (light and dark).
Print the FREE template and cut out the parts.
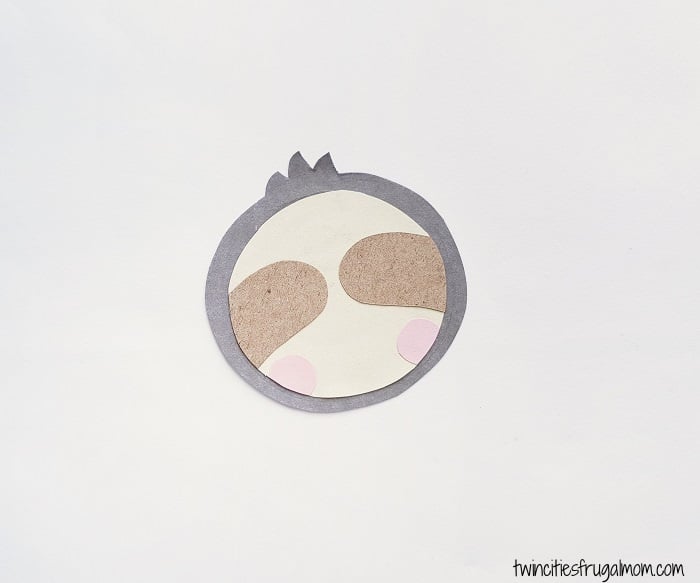
Trace the body pattern on light gray paper, and the 2 separate legs on dark gray paper. Trace the circle (face) on cream paper, the paws on black paper, the 2 small circles on pink paper and the remaining patterns (eye patch) on brown paper. Cut out the traced patterns.
Step 2:
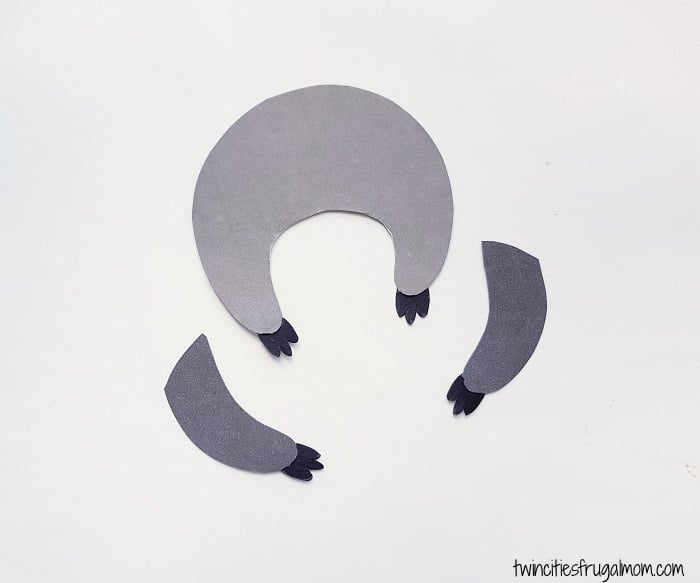
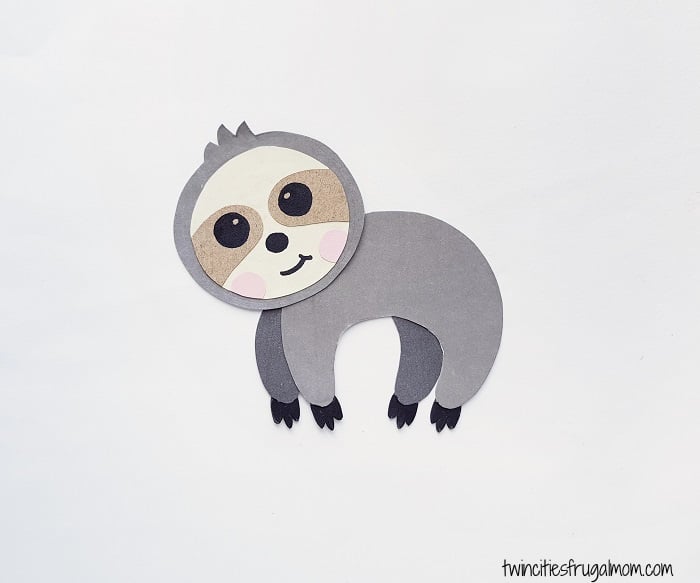
Stick the paw patterns on the open ends of the leg parts attached to the body as well to the separate legs.
Step 3:
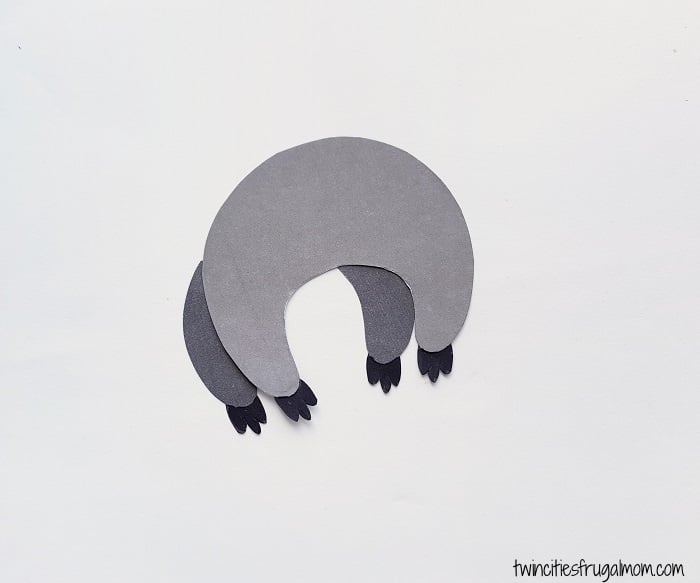
Attach the separate legs on the back side of each leg attached to the body.
Step 4:
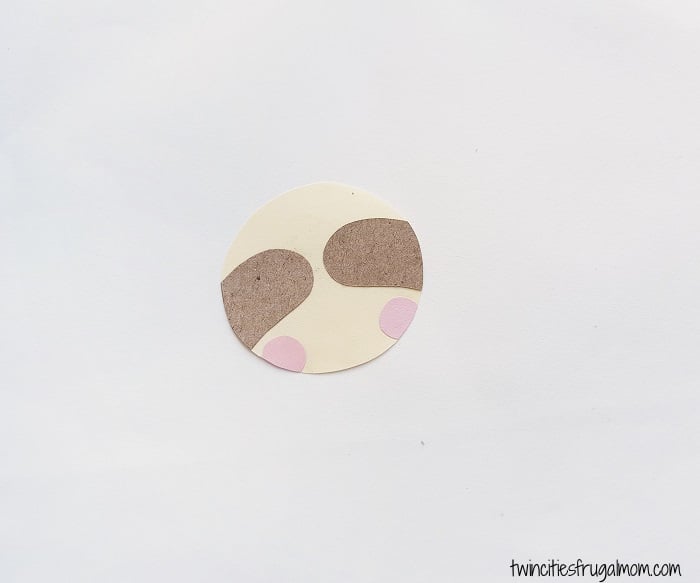
Stick the pink circles and the 2 brown eye patches on the round cream cutout.
Step 5:
Stick the cream circle in the middle of the head pattern.
Step 6:
Stick the head pattern on the front side of the body pattern.
Use a black sharpie to draw the eyes, nose and the mouth of the paper sloth.
You can also make or draw a tree branch for your sloth to sit on!
Save or pin for later!